
Author: Flavesa

  • The Best Buffalo Chicken Dip Recipe (Ready in 30 Minutes)

    The Best Buffalo Chicken Dip Recipe (Ready in 30 Minutes)

    Picture this: it’s game day, your crew is piling through the door, and you need something that’s going to disappear from the table in about seven minutes flat. Enter buffalo chicken dip — the warm, cheesy, spicy appetizer that nobody can resist and everyone always demands the recipe for.

    This isn’t just any dip. This is the buffalo chicken dip that will have your guests hovering around the bowl, chip in hand, going back for “just one more scoop” until the dish is scraped clean. It’s rich, creamy, tangy from the hot sauce, and packed with tender shredded chicken. And the best part? You can have it bubbling hot on the table in under 30 minutes with a handful of simple ingredients.

    Whether you’re hosting a Super Bowl party, a casual Friday get-together, or you simply need a crowd-pleasing snack on short notice — this recipe has you covered. Keep reading for step-by-step instructions, pro tips, and everything you need to make the perfect dip every single time.

    Why You’ll Love This Buffalo Chicken Dip

    • ✔ Ready in under 30 minutes from start to finish
    • ✔ Made with simple, pantry-friendly ingredients
    • ✔ Incredibly creamy, cheesy, and perfectly spicy
    • ✔ Works as a baked dip or slow cooker version
    • ✔ Perfect for game day, parties, or weeknight snacking
    • ✔ Easily customizable to your heat preference
    • ✔ Always the first thing to disappear at any gathering

    Ingredients You’ll Need

    Main Ingredients:

    • 2 cups cooked shredded chicken (rotisserie chicken works perfectly)
    • 8 oz cream cheese, fully softened
    • ½ cup hot sauce (Frank’s RedHot is the classic, tried-and-tested choice)
    • ½ cup ranch dressing (or blue cheese dressing for a bolder flavor)
    • 1 cup shredded cheddar cheese, divided

    For the Topping:

    • ½ cup additional shredded cheddar or Monterey Jack cheese
    • 2 tablespoons crumbled blue cheese (optional but amazing)

    For Serving:

    • Tortilla chips, celery sticks, pita chips, or sliced baguette

    Ingredient Notes:

    The star of any great buffalo chicken dip is — no surprise — the chicken. Rotisserie chicken is a weeknight hero here: it’s already cooked, juicy, and flavorful. Simply pull it apart with two forks and you’re ready to go. For the hot sauce, Frank’s RedHot is the gold standard and delivers that authentic, tangy buffalo kick everyone knows and loves. If you can’t find it, any Louisiana-style hot sauce works well. As for the cream cheese, make sure it’s fully softened before mixing — cold cream cheese leads to lumps, and a lumpy dip is a sad dip.

    How to Make Buffalo Chicken Dip — Step by Step

    Step 1 — Preheat and Prep Your Ingredients

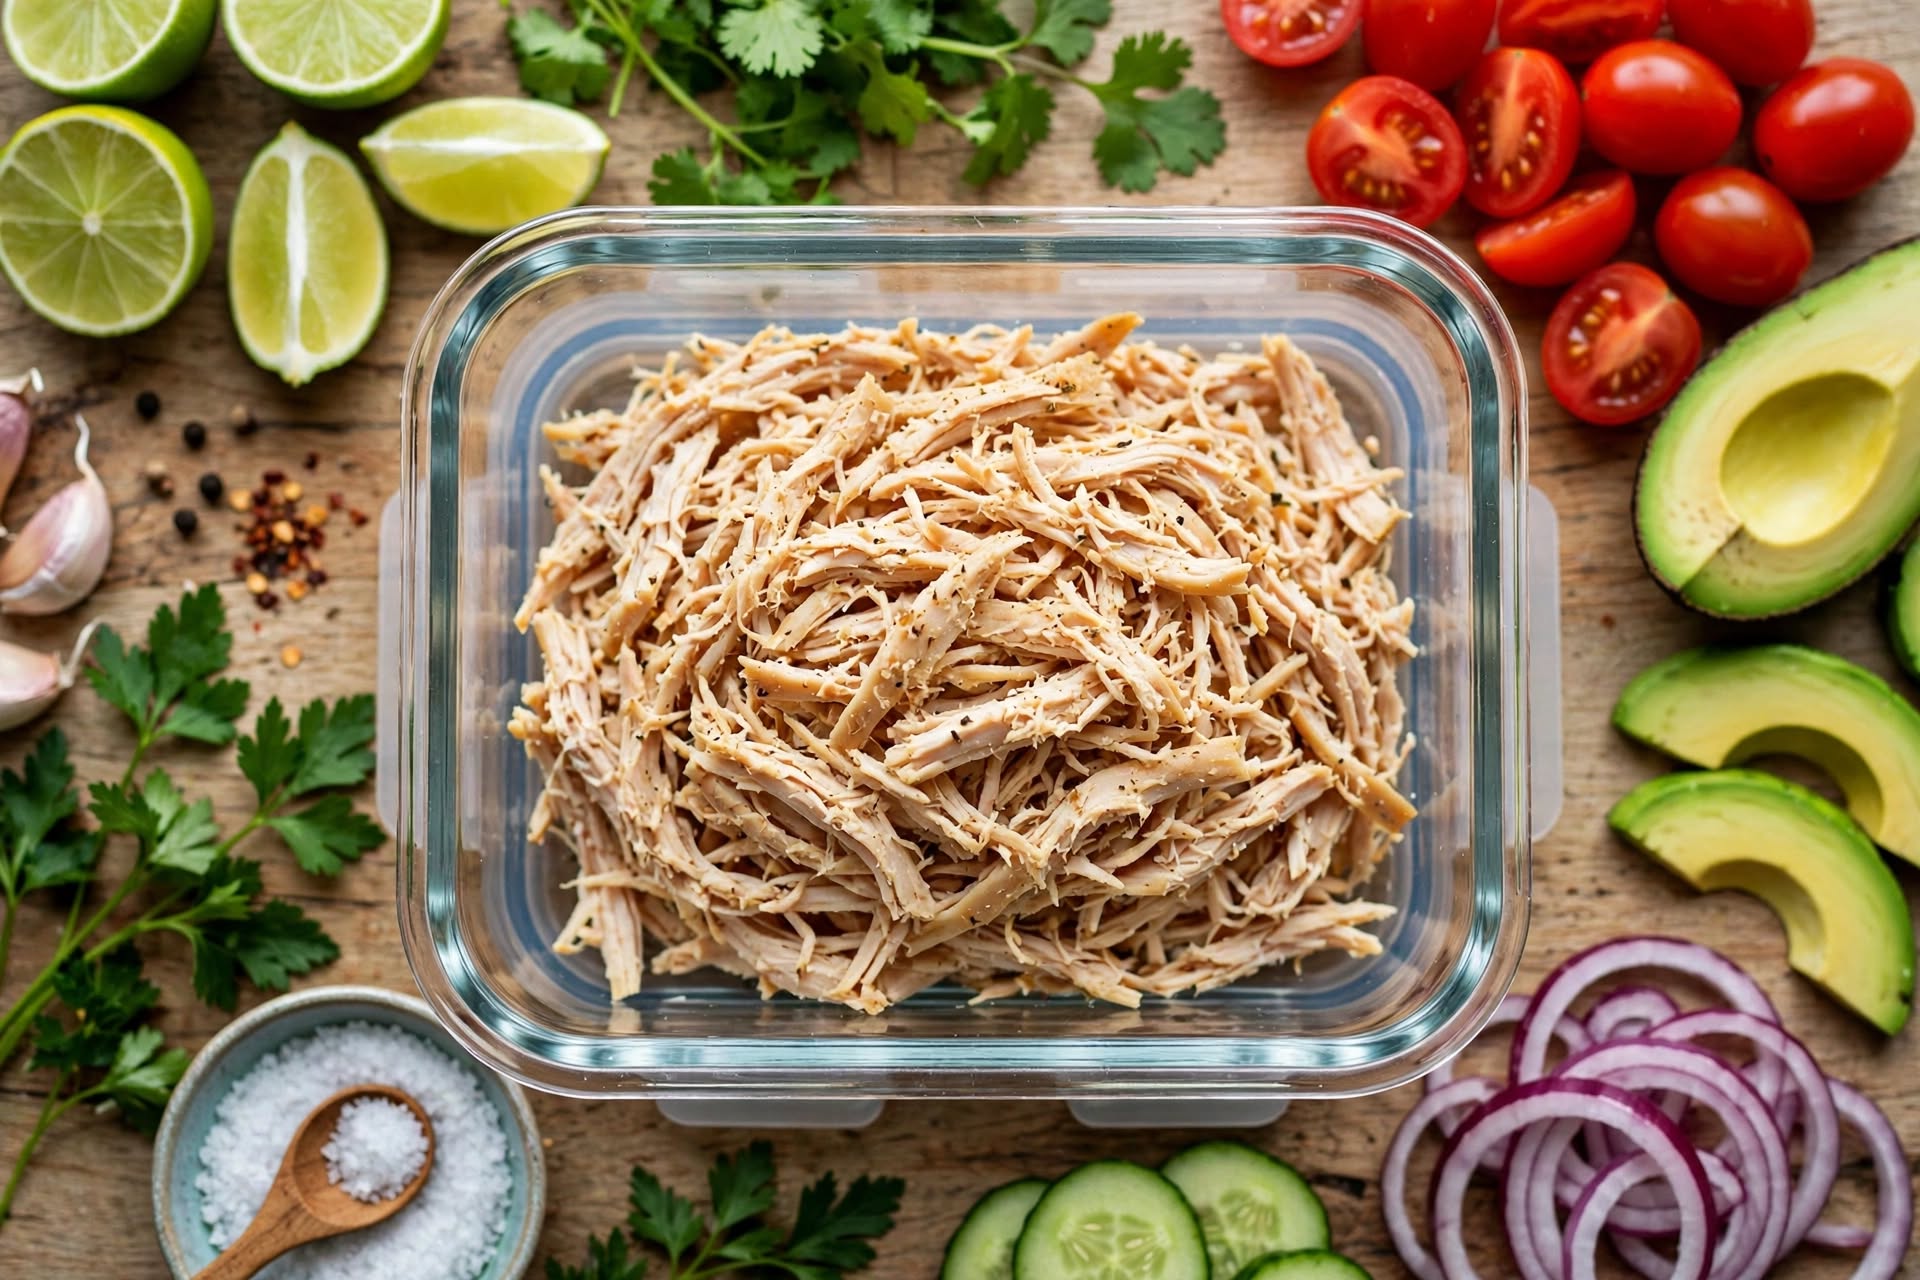
    Preheat your oven to 375°F (190°C). While it heats up, shred your cooked chicken into small, bite-sized pieces using two forks — you want it tender and fine enough that every scoop of the dip gets a perfect mix of everything. Lightly grease a medium-sized baking dish (an 8×8 or a similar shallow dish works perfectly) with cooking spray or a thin layer of butter. Getting your prep done first makes the whole process feel completely effortless.
    Step 2 — Make the Creamy Base

    In a large mixing bowl, combine the softened cream cheese, hot sauce, and ranch dressing. Use a hand mixer or a sturdy spatula to whisk everything together until the mixture is completely smooth and velvety — no streaks of cream cheese should remain. This creamy base is what gives buffalo chicken dip its iconic richness, so take an extra minute to really get it silky. Taste it here and adjust the hot sauce up or down to suit your heat preference.

    [IMAGE PLACEHOLDER — smooth, creamy base in bowl]

    Step 3 — Fold In the Chicken and Cheese

    Add your shredded chicken and three-quarters of the cheddar cheese into the cream cheese mixture. Fold everything together gently until the chicken is evenly coated and the cheese is distributed throughout. You want every spoonful of the finished dip to have that perfect balance of chicken, cheese, and aromatic sauce. The mixture should look hearty and thick — not watery. If it seems a touch too thick, a tiny splash of extra hot sauce loosens it right up.

    [IMAGE PLACEHOLDER — chicken and cheese folded into mixture]

    Step 4 — Assemble and Top

    Transfer the mixture into your prepared baking dish and spread it out into an even layer. Sprinkle the remaining cheddar generously over the top. If you’re using blue cheese crumbles, scatter them on now too — they’ll melt slightly in the oven and add a deeply aromatic, tangy dimension that takes this buffalo chicken dip from good to absolutely unforgettable.

    [IMAGE PLACEHOLDER — assembled dip in baking dish before oven]

    💡 Pro Tip: For an extra golden, bubbly top, switch your oven to broil for the final 2–3 minutes of baking. Keep a close eye on it — you want caramelized and gorgeous, not scorched. This one little trick gives your buffalo chicken dip that irresistible, restaurant-style finish that makes everyone reach for their phones before they even grab a chip.

    Step 5 — Bake Until Golden and Bubbly

    Place the dish in your preheated oven and bake for 20–25 minutes, or until the dip is bubbling around the edges and the cheese on top is fully melted and beginning to turn a beautiful golden color. The center should be hot all the way through. Let it rest for 3–5 minutes before serving — this helps it firm up just slightly so it scoops beautifully rather than sliding right off your chip.

    [IMAGE PLACEHOLDER — freshly baked golden dip out of oven]

    Step 6 — Serve and Enjoy

    Arrange your chips, celery sticks, and crackers around the warm baking dish for an effortless party spread. Buffalo chicken dip is best served straight from the oven while it’s still warm and gloriously melty. A scatter of fresh sliced green onions or a drizzle of extra hot sauce over the top makes it look as impressive as it tastes. Set it on a wooden board surrounded by your dippers for a presentation that looks like you spent hours — when really you spent thirty minutes.

    [IMAGE PLACEHOLDER — finished dip served with chips and veggies]

    Expert Tips for the Best Buffalo Chicken Dip Results

    Don’t skip softening the cream cheese. This is the number one mistake people make, and it’s completely avoidable. Cold cream cheese won’t blend smoothly, leaving you with a lumpy, uneven texture that no one wants in their dip. Set it out on the counter at least 30 minutes before you start, or microwave it for 20–30 seconds. Smooth cream cheese equals a silky, perfect dip every time.

    Choose the right chicken. The quality of your shredded chicken matters more than you might think. Rotisserie chicken is the easiest option, but if you have a little extra time, poaching boneless chicken breasts in lightly seasoned water and then shredding them produces an incredibly tender, juicy result. Avoid canned chicken if you can — the texture just doesn’t hold up the same way in a baked dip.

    Balance your heat level. Frank’s RedHot gives you that classic, tangy buffalo flavor without blowing anyone’s head off. If you’re cooking for a crowd with mixed spice tolerance, start with half a cup and taste as you go. You can always add more heat, but you can’t take it away once it’s stirred in — a lesson we’ve all learned the hard way.

    Don’t overbake it. Leaving the dip in the oven too long can dry out the chicken and cause the cheese to become rubbery instead of creamy. Once the edges are actively bubbling and the top is golden and melted, it’s done. Trust your eyes and let those visual cues guide you.

    Make it ahead for stress-free entertaining. Assemble the entire unbaked dip the night before, cover it tightly, and refrigerate it. When you’re ready to serve, pop it straight into the oven and add about 5 extra minutes to the bake time since it’s starting cold. This is a total game-changer for easy, relaxed hosting.

    Variations & Substitutions

    To make it lighter: Swap the cream cheese for reduced-fat cream cheese and use plain Greek yogurt in place of ranch dressing. The dip will still be rich, flavorful, and satisfying — no one will even notice the difference, and you’ll shave off a meaningful number of calories per serving.

    To make it vegetarian: Simply replace the shredded chicken with canned chickpeas (drained and roughly mashed) or shredded jackfruit seasoned with garlic powder and smoked paprika. The buffalo chickpea version is genuinely delicious and a massive hit even among meat-eaters who weren’t expecting to love it.

    To make it spicier: Add half a teaspoon of cayenne pepper to the cream cheese mixture, or stir in a tablespoon of habanero hot sauce alongside the Frank’s. For a smokier heat, a dash of chipotle sauce works beautifully and adds a whole new depth of flavor.

    To make it dairy-free: Use vegan cream cheese, dairy-free ranch dressing, and your favorite plant-based shredded cheese. The texture will be slightly different, but the result is still wonderfully creamy, scoopable, and crowd-pleasing.

    What to Serve With Buffalo Chicken Dip

    Buffalo chicken dip is wonderfully versatile when it comes to dippers. Classic tortilla chips are always the crowd favorite — their satisfying crunch is the perfect contrast to the warm, creamy dip. Celery and carrot sticks add a fresh, cooling crispness that beautifully balances the heat. Toasted baguette slices or sturdy pita chips work wonderfully for a heartier, more substantial scoop.

    For a gorgeous full party spread, it pairs beautifully with a warm garlic flatbread — [INTERNAL LINK 1]. For a complete, well-rounded meal, try it alongside our simple side salad — [INTERNAL LINK 2]. Whether you’re building an impressive snack board or just lounging on the couch with a bowl of chips, this dip slots into any situation without a second thought.

    Storage, Meal Prep & Reheating

    Refrigerator: Leftover buffalo chicken dip stores beautifully in an airtight container in the fridge for up to 4 days. The flavors actually deepen overnight, making day-two leftovers arguably even better than fresh — if there are any leftovers, which is never guaranteed.

    Freezer: Yes, you can freeze it! Transfer the cooled dip to a freezer-safe container and freeze for up to 2 months. Thaw overnight in the refrigerator before reheating. The texture may be slightly less creamy after freezing, so stir in a tablespoon of fresh cream cheese when reheating to restore that velvety, smooth consistency.

    Reheating: For best results, reheat on the stovetop over low heat, stirring occasionally until warmed all the way through. You can also microwave it in 30-second intervals, stirring between each burst. Avoid blasting it on high heat — this can cause the dip to separate and lose that gorgeous creaminess.

    Meal prep tip: Assemble the unbaked dip and refrigerate it for up to 24 hours before you plan to bake it. It’s a complete game-changer for stress-free entertaining. If you love meal-prep friendly recipes, check out our easy weeknight dinners — [INTERNAL LINK 3].

    ★ Recipe Card: The Best Buffalo Chicken Dip

    Prep Time: 10 minutes Cook Time: 25 minutes Total Time: 35 minutes Servings: 8–10 Calories: Approximately 220 per serving


    INGREDIENTS:

    • 2 cups cooked shredded chicken (rotisserie recommended)
    • 8 oz cream cheese, fully softened
    • ½ cup Frank’s RedHot sauce (or your preferred hot sauce)
    • ½ cup ranch dressing (or blue cheese dressing)
    • 1 cup shredded cheddar cheese, divided
    • 2 tablespoons crumbled blue cheese (optional)
    • Tortilla chips, celery sticks, and crackers for serving

    INSTRUCTIONS:

    1. Preheat oven to 375°F (190°C). Lightly grease an 8×8 baking dish.
    2. In a large bowl, mix softened cream cheese, hot sauce, and ranch dressing until smooth and velvety.
    3. Fold in shredded chicken and ¾ cup of the cheddar cheese until evenly combined.
    4. Transfer mixture to prepared baking dish and spread into an even layer.
    5. Top with remaining cheddar cheese and blue cheese crumbles, if using.
    6. Bake for 20–25 minutes until bubbling at the edges and golden on top.
    7. Optional: Broil for 2–3 minutes for an extra caramelized top. Watch closely!
    8. Rest for 3–5 minutes, then serve warm with your favorite dippers.

    NOTES:

    • Lighter swap: Use reduced-fat cream cheese and Greek yogurt in place of ranch.
    • Storage: Refrigerate leftovers in an airtight container for up to 4 days.
    • Heat level: Start with ½ cup hot sauce and add cayenne to taste if you like it spicy.

    Frequently Asked Questions

    Q: Can I make buffalo chicken dip in a slow cooker?

    A: Absolutely! Combine all the ingredients in your slow cooker and cook on low for 2–3 hours or on high for 1–1.5 hours, stirring halfway through. It’s a fantastic hands-off option for parties where you want to keep the dip warm and melty throughout the entire event without any babysitting.

    Q: What’s the best hot sauce to use for this recipe?

    A: Frank’s RedHot Buffalo Sauce is the classic, foolproof choice and delivers that authentic, tangy buffalo flavor everyone recognizes. It has the perfect balance of vinegar, heat, and richness. That said, any Louisiana-style hot sauce will work well — just taste and adjust the quantity based on your preference.

    Q: Can I use canned chicken to make this dip?

    A: You can in a pinch, but we’d strongly recommend rotisserie or freshly cooked shredded chicken for the best texture and flavor. Canned chicken tends to be softer and can make the finished dip feel slightly pasty rather than hearty. If it’s all you have, drain it thoroughly and pat it dry before folding it in.

    Q: How do I keep buffalo chicken dip warm at a party?

    A: Transfer it to a small slow cooker set to the “warm” setting once it comes out of the oven — it’ll stay perfectly melty and scoopable for hours without overcooking. For more ideas on easy entertaining, see our quick dinner recipes — [INTERNAL LINK 4].

    Q: Is this recipe gluten-free?

    A: The dip itself is naturally gluten-free! Just pair it with gluten-free crackers or vegetable dippers, and double-check the labels on your ranch dressing and hot sauce to confirm they’re certified gluten-free — most brands are, but it’s always worth a quick check.

    Ready to Make the Best Buffalo Chicken Dip of Your Life?

    There you have it — the ultimate, foolproof buffalo chicken dip that’s about to become your most-requested recipe. It’s quick, it’s easy, it’s undeniably delicious, and it brings people together every single time. Whether you make it for your next game day, a casual get-together, or simply because Tuesday deserves something special, this dip delivers on every front.

    Give it a try, and please come back to leave a star rating — it genuinely means the world and helps other home cooks find this recipe too. Loved this recipe? You might also enjoy our easy family dinners collection — [INTERNAL LINK 5].

    Happy dipping! 🧡

  • The Ultimate Guide to Mastering Homemade Sourdough Bread

    The Ultimate Guide to Mastering Homemade Sourdough Bread

    This paragraph serves as an introduction to your blog post. Begin by discussing the primary theme or topic that you plan to cover, ensuring it captures the reader’s interest from the very first sentence. Share a brief overview that highlights why this topic is important and how it can provide value. Use this space to set the tone for the rest of the article, preparing readers for the journey ahead. Keep your language approachable, yet informative, to create a strong connection.

    Sometimes, the simplest moments hold the deepest wisdom. Let your thoughts settle, and clarity will find you. Use this quote space to share something inspirational or reflective, perfectly aligned with the theme of your article.

    This paragraph dives deeper into the topic introduced earlier, expanding on the main idea with examples, analysis, or additional context. Use this section to elaborate on specific points, ensuring that each sentence builds on the last to maintain a cohesive flow. You can include data, anecdotes, or expert opinions to reinforce your claims. Keep your language concise but descriptive enough to keep readers engaged. This is where the substance of your article begins to take shape.

    As you move toward the midpoint of the article, this paragraph provides an opportunity to connect earlier ideas with new insights. Use this space to present alternative perspectives or address potential questions readers might have. Strike a balance between depth and readability, ensuring the information remains digestible. This section can also serve as a transition to the closing points, maintaining momentum as you steer the discussion to its final stages.

    Wrapping Up with Key Insights

    In this concluding paragraph, summarize the key takeaways from your article, reinforcing the most important ideas discussed. Encourage readers to reflect on the insights shared, or offer actionable advice they can apply in their own lives. This is your chance to leave a lasting impression, so make sure your closing thoughts are impactful and memorable. A strong conclusion not only ties the article together but also inspires readers to engage further.

  • Refreshing Summer Salads Packed with Crisp Seasonal Veggies

    Refreshing Summer Salads Packed with Crisp Seasonal Veggies

    This paragraph serves as an introduction to your blog post. Begin by discussing the primary theme or topic that you plan to cover, ensuring it captures the reader’s interest from the very first sentence. Share a brief overview that highlights why this topic is important and how it can provide value. Use this space to set the tone for the rest of the article, preparing readers for the journey ahead. Keep your language approachable, yet informative, to create a strong connection.

    Sometimes, the simplest moments hold the deepest wisdom. Let your thoughts settle, and clarity will find you. Use this quote space to share something inspirational or reflective, perfectly aligned with the theme of your article.

    This paragraph dives deeper into the topic introduced earlier, expanding on the main idea with examples, analysis, or additional context. Use this section to elaborate on specific points, ensuring that each sentence builds on the last to maintain a cohesive flow. You can include data, anecdotes, or expert opinions to reinforce your claims. Keep your language concise but descriptive enough to keep readers engaged. This is where the substance of your article begins to take shape.

    As you move toward the midpoint of the article, this paragraph provides an opportunity to connect earlier ideas with new insights. Use this space to present alternative perspectives or address potential questions readers might have. Strike a balance between depth and readability, ensuring the information remains digestible. This section can also serve as a transition to the closing points, maintaining momentum as you steer the discussion to its final stages.

    Wrapping Up with Key Insights

    In this concluding paragraph, summarize the key takeaways from your article, reinforcing the most important ideas discussed. Encourage readers to reflect on the insights shared, or offer actionable advice they can apply in their own lives. This is your chance to leave a lasting impression, so make sure your closing thoughts are impactful and memorable. A strong conclusion not only ties the article together but also inspires readers to engage further.

  • Secret Pantry Staples That Instantly Elevate Any Dish

    Secret Pantry Staples That Instantly Elevate Any Dish

    This paragraph serves as an introduction to your blog post. Begin by discussing the primary theme or topic that you plan to cover, ensuring it captures the reader’s interest from the very first sentence. Share a brief overview that highlights why this topic is important and how it can provide value. Use this space to set the tone for the rest of the article, preparing readers for the journey ahead. Keep your language approachable, yet informative, to create a strong connection.

    Sometimes, the simplest moments hold the deepest wisdom. Let your thoughts settle, and clarity will find you. Use this quote space to share something inspirational or reflective, perfectly aligned with the theme of your article.

    This paragraph dives deeper into the topic introduced earlier, expanding on the main idea with examples, analysis, or additional context. Use this section to elaborate on specific points, ensuring that each sentence builds on the last to maintain a cohesive flow. You can include data, anecdotes, or expert opinions to reinforce your claims. Keep your language concise but descriptive enough to keep readers engaged. This is where the substance of your article begins to take shape.

    As you move toward the midpoint of the article, this paragraph provides an opportunity to connect earlier ideas with new insights. Use this space to present alternative perspectives or address potential questions readers might have. Strike a balance between depth and readability, ensuring the information remains digestible. This section can also serve as a transition to the closing points, maintaining momentum as you steer the discussion to its final stages.

    Wrapping Up with Key Insights

    In this concluding paragraph, summarize the key takeaways from your article, reinforcing the most important ideas discussed. Encourage readers to reflect on the insights shared, or offer actionable advice they can apply in their own lives. This is your chance to leave a lasting impression, so make sure your closing thoughts are impactful and memorable. A strong conclusion not only ties the article together but also inspires readers to engage further.

  • Decadent Desserts You Can Whip Up Without an Oven

    Decadent Desserts You Can Whip Up Without an Oven

    This paragraph serves as an introduction to your blog post. Begin by discussing the primary theme or topic that you plan to cover, ensuring it captures the reader’s interest from the very first sentence. Share a brief overview that highlights why this topic is important and how it can provide value. Use this space to set the tone for the rest of the article, preparing readers for the journey ahead. Keep your language approachable, yet informative, to create a strong connection.

    Sometimes, the simplest moments hold the deepest wisdom. Let your thoughts settle, and clarity will find you. Use this quote space to share something inspirational or reflective, perfectly aligned with the theme of your article.

    This paragraph dives deeper into the topic introduced earlier, expanding on the main idea with examples, analysis, or additional context. Use this section to elaborate on specific points, ensuring that each sentence builds on the last to maintain a cohesive flow. You can include data, anecdotes, or expert opinions to reinforce your claims. Keep your language concise but descriptive enough to keep readers engaged. This is where the substance of your article begins to take shape.

    As you move toward the midpoint of the article, this paragraph provides an opportunity to connect earlier ideas with new insights. Use this space to present alternative perspectives or address potential questions readers might have. Strike a balance between depth and readability, ensuring the information remains digestible. This section can also serve as a transition to the closing points, maintaining momentum as you steer the discussion to its final stages.

    Wrapping Up with Key Insights

    In this concluding paragraph, summarize the key takeaways from your article, reinforcing the most important ideas discussed. Encourage readers to reflect on the insights shared, or offer actionable advice they can apply in their own lives. This is your chance to leave a lasting impression, so make sure your closing thoughts are impactful and memorable. A strong conclusion not only ties the article together but also inspires readers to engage further.

  • Flavorful Plant-Based Recipes Even Meat Lovers Will Crave

    Flavorful Plant-Based Recipes Even Meat Lovers Will Crave

    This paragraph serves as an introduction to your blog post. Begin by discussing the primary theme or topic that you plan to cover, ensuring it captures the reader’s interest from the very first sentence. Share a brief overview that highlights why this topic is important and how it can provide value. Use this space to set the tone for the rest of the article, preparing readers for the journey ahead. Keep your language approachable, yet informative, to create a strong connection.

    Sometimes, the simplest moments hold the deepest wisdom. Let your thoughts settle, and clarity will find you. Use this quote space to share something inspirational or reflective, perfectly aligned with the theme of your article.

    This paragraph dives deeper into the topic introduced earlier, expanding on the main idea with examples, analysis, or additional context. Use this section to elaborate on specific points, ensuring that each sentence builds on the last to maintain a cohesive flow. You can include data, anecdotes, or expert opinions to reinforce your claims. Keep your language concise but descriptive enough to keep readers engaged. This is where the substance of your article begins to take shape.

    As you move toward the midpoint of the article, this paragraph provides an opportunity to connect earlier ideas with new insights. Use this space to present alternative perspectives or address potential questions readers might have. Strike a balance between depth and readability, ensuring the information remains digestible. This section can also serve as a transition to the closing points, maintaining momentum as you steer the discussion to its final stages.

    Wrapping Up with Key Insights

    In this concluding paragraph, summarize the key takeaways from your article, reinforcing the most important ideas discussed. Encourage readers to reflect on the insights shared, or offer actionable advice they can apply in their own lives. This is your chance to leave a lasting impression, so make sure your closing thoughts are impactful and memorable. A strong conclusion not only ties the article together but also inspires readers to engage further.

  • Essential Herb and Spice Pairings for Creative Cooks

    Essential Herb and Spice Pairings for Creative Cooks

    This paragraph serves as an introduction to your blog post. Begin by discussing the primary theme or topic that you plan to cover, ensuring it captures the reader’s interest from the very first sentence. Share a brief overview that highlights why this topic is important and how it can provide value. Use this space to set the tone for the rest of the article, preparing readers for the journey ahead. Keep your language approachable, yet informative, to create a strong connection.

    Sometimes, the simplest moments hold the deepest wisdom. Let your thoughts settle, and clarity will find you. Use this quote space to share something inspirational or reflective, perfectly aligned with the theme of your article.

    This paragraph dives deeper into the topic introduced earlier, expanding on the main idea with examples, analysis, or additional context. Use this section to elaborate on specific points, ensuring that each sentence builds on the last to maintain a cohesive flow. You can include data, anecdotes, or expert opinions to reinforce your claims. Keep your language concise but descriptive enough to keep readers engaged. This is where the substance of your article begins to take shape.

    As you move toward the midpoint of the article, this paragraph provides an opportunity to connect earlier ideas with new insights. Use this space to present alternative perspectives or address potential questions readers might have. Strike a balance between depth and readability, ensuring the information remains digestible. This section can also serve as a transition to the closing points, maintaining momentum as you steer the discussion to its final stages.

    Wrapping Up with Key Insights

    In this concluding paragraph, summarize the key takeaways from your article, reinforcing the most important ideas discussed. Encourage readers to reflect on the insights shared, or offer actionable advice they can apply in their own lives. This is your chance to leave a lasting impression, so make sure your closing thoughts are impactful and memorable. A strong conclusion not only ties the article together but also inspires readers to engage further.

  • Comforting Soups and Stews to Warm Cold Evenings

    Comforting Soups and Stews to Warm Cold Evenings

    This paragraph serves as an introduction to your blog post. Begin by discussing the primary theme or topic that you plan to cover, ensuring it captures the reader’s interest from the very first sentence. Share a brief overview that highlights why this topic is important and how it can provide value. Use this space to set the tone for the rest of the article, preparing readers for the journey ahead. Keep your language approachable, yet informative, to create a strong connection.

    Sometimes, the simplest moments hold the deepest wisdom. Let your thoughts settle, and clarity will find you. Use this quote space to share something inspirational or reflective, perfectly aligned with the theme of your article.

    This paragraph dives deeper into the topic introduced earlier, expanding on the main idea with examples, analysis, or additional context. Use this section to elaborate on specific points, ensuring that each sentence builds on the last to maintain a cohesive flow. You can include data, anecdotes, or expert opinions to reinforce your claims. Keep your language concise but descriptive enough to keep readers engaged. This is where the substance of your article begins to take shape.

    As you move toward the midpoint of the article, this paragraph provides an opportunity to connect earlier ideas with new insights. Use this space to present alternative perspectives or address potential questions readers might have. Strike a balance between depth and readability, ensuring the information remains digestible. This section can also serve as a transition to the closing points, maintaining momentum as you steer the discussion to its final stages.

    Wrapping Up with Key Insights

    In this concluding paragraph, summarize the key takeaways from your article, reinforcing the most important ideas discussed. Encourage readers to reflect on the insights shared, or offer actionable advice they can apply in their own lives. This is your chance to leave a lasting impression, so make sure your closing thoughts are impactful and memorable. A strong conclusion not only ties the article together but also inspires readers to engage further.